Find out how pellet therapy works and its impact on subcutaneous hormone levels for better health outcomes.
Table of Contents
Abstract
I’m Dr. Alexander Jimenez, DC, FNP-APRN. In this educational post, I synthesize current, evidence-based standards for subcutaneous hormone pellet implantation and procedural optimization, drawing on leading research, on-the-ground clinical observations from my practice, and the HealthVoice360 clinical content. My goal is to translate technique into physiology and physiologic outcomes into practical, safer, and more reproducible procedures. I will guide you through the core elements of pellet placement in male and female patients, including anatomical targeting, tissue planes, bevel orientation, trocar control, depth control, track preparation, anesthetic strategy, incision strategy, and the post-procedure closure and stabilization methods that reduce extrusion, encapsulation, and scarring.
We will begin by grounding procedural choices in the biomechanics and microanatomy of the upper gluteal (upper buttock) and flank regions. I explain how fascial compartments, adipose architecture, and the erector spinae margin guide your entry point, instrument trajectory, and depth, and why a correct trajectory in the sagittal plane—and an appropriate lateral-deep bias—yields more stable placement and a reduced adverse tissue response. You will learn why subcutaneous but not too superficial placement matters, why “track creation” must be smooth and controlled, and how to ensure pellets settle in a layered “row” rather than clustering or “tenting.”
The post explores a practical, two-handed technique that stabilizes the trocar and prevents forward surge, a common cause of pellet displacement and track trauma. I expand on the role of a short-bevel trocar and a removable obturator; how to lock, unlock, and re-lock the device without losing track integrity; and how to “swim” through tissue with minimal shear. I discuss why superficial placement promotes encapsulation and palpability, how bevel misorientation can rupture tissue planes, and how subtle wrist angles—especially maintaining a 45-degree orientation relative to the target adipose “patch”—help pellets land in the correct volume of fat for controlled-release dynamics.
I review modern anesthetic strategies, including the “weal-first” approach, balanced lidocaine/bicarbonate buffering, and anesthetizing the proximal portion of the track to a length equal to the trocar, which improves patient comfort while reducing infiltration volume. We will cover the use of clear ballistic gel as a simulation medium, its strengths and limitations, and how it teaches tactile recognition of depth transitions, friction, and spread patterns. I also detail key peri-procedural sterility decisions—chlorhexidine, povidone-iodine, or alcohol in the setting of supply shortages—and how to preserve safety when your preferred agent is unavailable.
We will compare male and female placements across landmarks, depth, angles, and avoidance zones to prevent pressure on the sit bones, nerve irritation, and coccygeal pain. I will outline the logic of pellet spacing, track length, and multi-pellet loading to minimize extrusion while ensuring adequate distribution. Finally, I break down closure protocols, pressure bandaging, steri-strips or skin adhesive selection, and post-care timing for bathing and exertion. Throughout, I highlight why micro-dosed anti-inflammatory agents sometimes included in certain pellet systems may reduce local inflammation and tissue deposition, and how that relates to healing and pellet kinetics. The objective is to present a clinician’s practical pathway from patient positioning to follow-up—anchored to physiology, anatomy, and the latest best evidence—so your technique becomes reliably safe, replicable, and patient-centered.
— Dr. Alexander Jimenez, DC, FNP-APRN
Section 1: Evidence-Based Rationale for Subcutaneous Hormone Pellet Implantation
- Core concepts
- Why depth and tissue plane matter
- Physiologic release dynamics
In my clinical practice and in contemporary literature from the procedural endocrinology, interventional pain, and MSK disciplines, the success of subcutaneous pellet therapy depends on the marriage of pharmacokinetics (steady-state hormone elution) and tissue behavior (adipose architecture, vascularity, inflammatory response). Proper placement within the subcutaneous adipose compartment—not fascia, not intradermal, not intramuscular—optimizes:
- Stable diffusion gradients
- Lower encapsulation rates
- Reduced pain and palpability
- Lower extrusion risk
- Predictable pharmacokinetics
Why this is true physiologically:
- Adipose tissue provides a compliant, relatively avascular matrix in which hydrostatic and oncotic forces govern interstitial fluid movement. Pellets within fat encounter a steady, low-shear environment that allows consistent dissolution and capillary uptake.
- Too superficial: Dermal and superficial subdermal layers have higher collagen densities and active mechanotransduction; foreign bodies here trigger fibrotic encapsulation, nodularity, and scar tethering. Patients can easily palpate the pellets; the risk of extrusion increases with reduced tissue coverage and increased skin motion.
- Too deep (intramuscular or fascial): Muscle contraction increases shear forces, microtrauma, and unpredictable release due to perfusion dynamics and motion. Fascial planes can channel pellets, create pain, or provoke inflammatory tether points.
Key idea: The “Goldilocks zone” is sufficiently deep within subcutaneous fat to avoid dermal/fascial interference, while far enough from muscle and coccygeal/nerve structures to avoid pain and kinetic displacement.
Section 2: Anatomical Targeting and Landmarks: Upper Gluteal and Flank Physiology
- Erector spinae margin and iliac crest
- Avoidance zones and sitting pressure lines
- Lateral-deep bias
For men, I palpate the iliac crest and track laterally to identify the upper buttock region where subcutaneous fat is thick enough to house a multi-pellet track. I assess the margin of the erector spinae muscles; the objective is to enter laterally to the paraspinal mass, keeping the trajectory in the sagittal plane but with a slightly lateral-deep bias. This places pellets within a stable adipose corridor, minimizing cross-talk with fascia and muscle. In women, I favor the upper outer quadrant of the buttock (or upper buttock near the “tan line”), explicitly avoiding regions where sitting pressure can compress the pellets. That reduces friction, pain when seated, and surface palpability.
Physiologic reasoning:
- Sitting pressure creates a cyclic load on superficial tissues. Pellets under load are more prone to micro-motion, inflammatory response, and superficial migration.
- The lateral-deep adipose corridor provides a broader cushion of fat, with reduced dynamic shear and improved thermal stability, both of which are conducive to steady elution.
- The erector spinae boundary marks a transition from the muscular compartment to the subcutaneous planes; staying lateral diminishes the risk of traversing the muscle fascia.
Section 3: Track Strategy: Sagittal Plane, Depth, and Distribution
- Track length equals trocar length
- Spacing to minimize clustering
- Avoiding encapsulation and tenting
I aim for a track length that matches the anesthetized field and the trocar length, typically about 3.5 inches across many systems. A longer track permits properly spacing multiple pellets in a single pass. I avoid superficial stacking near the entry site; pellets clustered near the incision have a higher risk of extrusion because incision tension, dressing shear, and early edema can push them outward.
Distribution logic:
- Place pellets sequentially along the track with gentle, steady pressure. The goal is a “row,” not a pile. Even spacing promotes uniform tissue contact and stable interstitial fluid exposure, and prevents pellets from “docking” together, which could cause them to shift collectively.
- If pressure is inconsistent, gaps form, and pellets recoil toward the entry. If pressure is too aggressive, pellets “tent” or leapfrog, perforating microplanes in fat, which patients later interpret as soreness or nodularity.
- Ending the final pellet away from the incision reduces the risk of retrograde migration.
Section 4: Instrumentation: Trocar, Obturator, and Bevel Orientation
- Why short-bevel matters
- Locking technique
- “Swimming” the trocar
A short-bevel trocar reduces the chance of “cutting” tissue planes longitudinally and instead allows a controlled dilation of the track. The obturator provides a smooth leading edge for insertion; once the desired depth is reached, remove the obturator to load pellets while keeping the cannula steady. The most common error I observe is advancing or twisting with the obturator unlocked or the tip partially out, which subjects the tissue to blunt trauma and compromises the track.
Technique refinements:
- Lock the obturator for entry; unlock only when stationary; re-lock before repositioning. This preserves track integrity.
- Orient the bevel to minimize shearing across fascial fibers. If the bevel is directed against the grain of the fascial microarchitecture, it tears rather than parts the tissue, increasing bleeding and inflammatory signaling.
- “Swim like a snake”: This is a smooth, slow, minimal-amplitude advance that respects tissue compliance. In a ballistic gel simulation, you can see the difference: gentle glide produces a clean track; aggressive torque produces clouding and fissures that translate clinically to hematoma and post-procedural pain.
Section 5: Two-Handed Control: Preventing Surge and Pellet Displacement
- Elbow lock for stability
- Bimanual rhythm
- Why one-handed “syringe” style fails
I train a two-handed method. One hand stabilizes the trocar hub with the elbow locked against the ribs; the other hand loads and advances the pellet. This posture dampens forward surge. If you hold the instrument like a syringe and push, you often over-advance and drive pellets too far, compress pellets together, or breach the anesthetized field. The locked-elbow anchor creates predictable micro-movement with tactile feedback from your fingertips. In gel, you can feel when the tip is at depth; that same tactile signal exists in human tissue—learn it.
Section 6: Creating and Respecting the Weal: Local Anesthetic Strategy
- The “weal-first” concept
- Buffering and field coverage
- Physiologic purpose
An excellent intradermal/subdermal weal predetermines a pain-free incision and initial track formation. I create a generous weal at the intended incision site, then advance the needle to infiltrate along the future trocar path. Buffering lidocaine with bicarbonate reduces sting and tissue acidity, decreasing nociceptor activity. Anesthetize the proximal track length equivalent to the trocar length—a common oversight is numbing too shallow or too short, causing patient discomfort as you advance beyond the anesthetized segment. Pink blanching and light tissue turgor indicate adequate coverage.
Physiology:
- Nociceptors saturate with local anesthetic when pH is optimized, speeding onset and reducing injection pain.
- Adequate proximal coverage blunts the pain of fascial “pop” as you pass the superficial fascia. This reduces guarding and involuntary muscle tension, which otherwise narrows the corridor and increases shear.
Section 7: Incision and Entry: Blade, Angle, and Fascia Crossing
- 45-degree alignment with the adipose “patch.”
- Direction of cut with skin lines
- Controlled passage through the superficial fascia
I align the blade at approximately 45 degrees relative to the target adipose “patch.” This geometry aligns with my trocar trajectory, reducing instrument-cornering at the entry. I prefer cutting in the direction of skin tension lines to promote better cosmetic healing. As I pass through the superficial fascia, I feel a light “give”—a critical tactile cue. Once under the fascia, I gradually rotate the trocar to align with the planned sagittal path. The wrist remains neutral and flat, helping maintain a stable, shallow arc rather than a steep dive or superficial skim.
Section 8: Pellet Loading: Sequence, Spacing, and Field Maintenance
- Loading in series
- Maintaining the anesthesia field
- Avoiding near-incision deposition
I load pellets in series, often “five, five, and one” (or an analogous distribution), depending on the therapeutic plan. After each micro-advance, I return to the “lock” position before the next load. Keep your depositions within the anesthetized corridor. Do not chase depth so far that you leave your field; discomfort rises, the patient tenses, and the track stiffens. The last pellets should not be adjacent to the incision. A simple rule: leave at least a finger’s breadth of adipose between the terminal pellet and the entry point when anatomy allows.
Section 9: Male vs. Female Placement: Landmark Differences and Sitting Pressure
- Upper buttock targeting
- Avoidance of coccygeal and ischial pressure zones
- “Never sit on it” principle
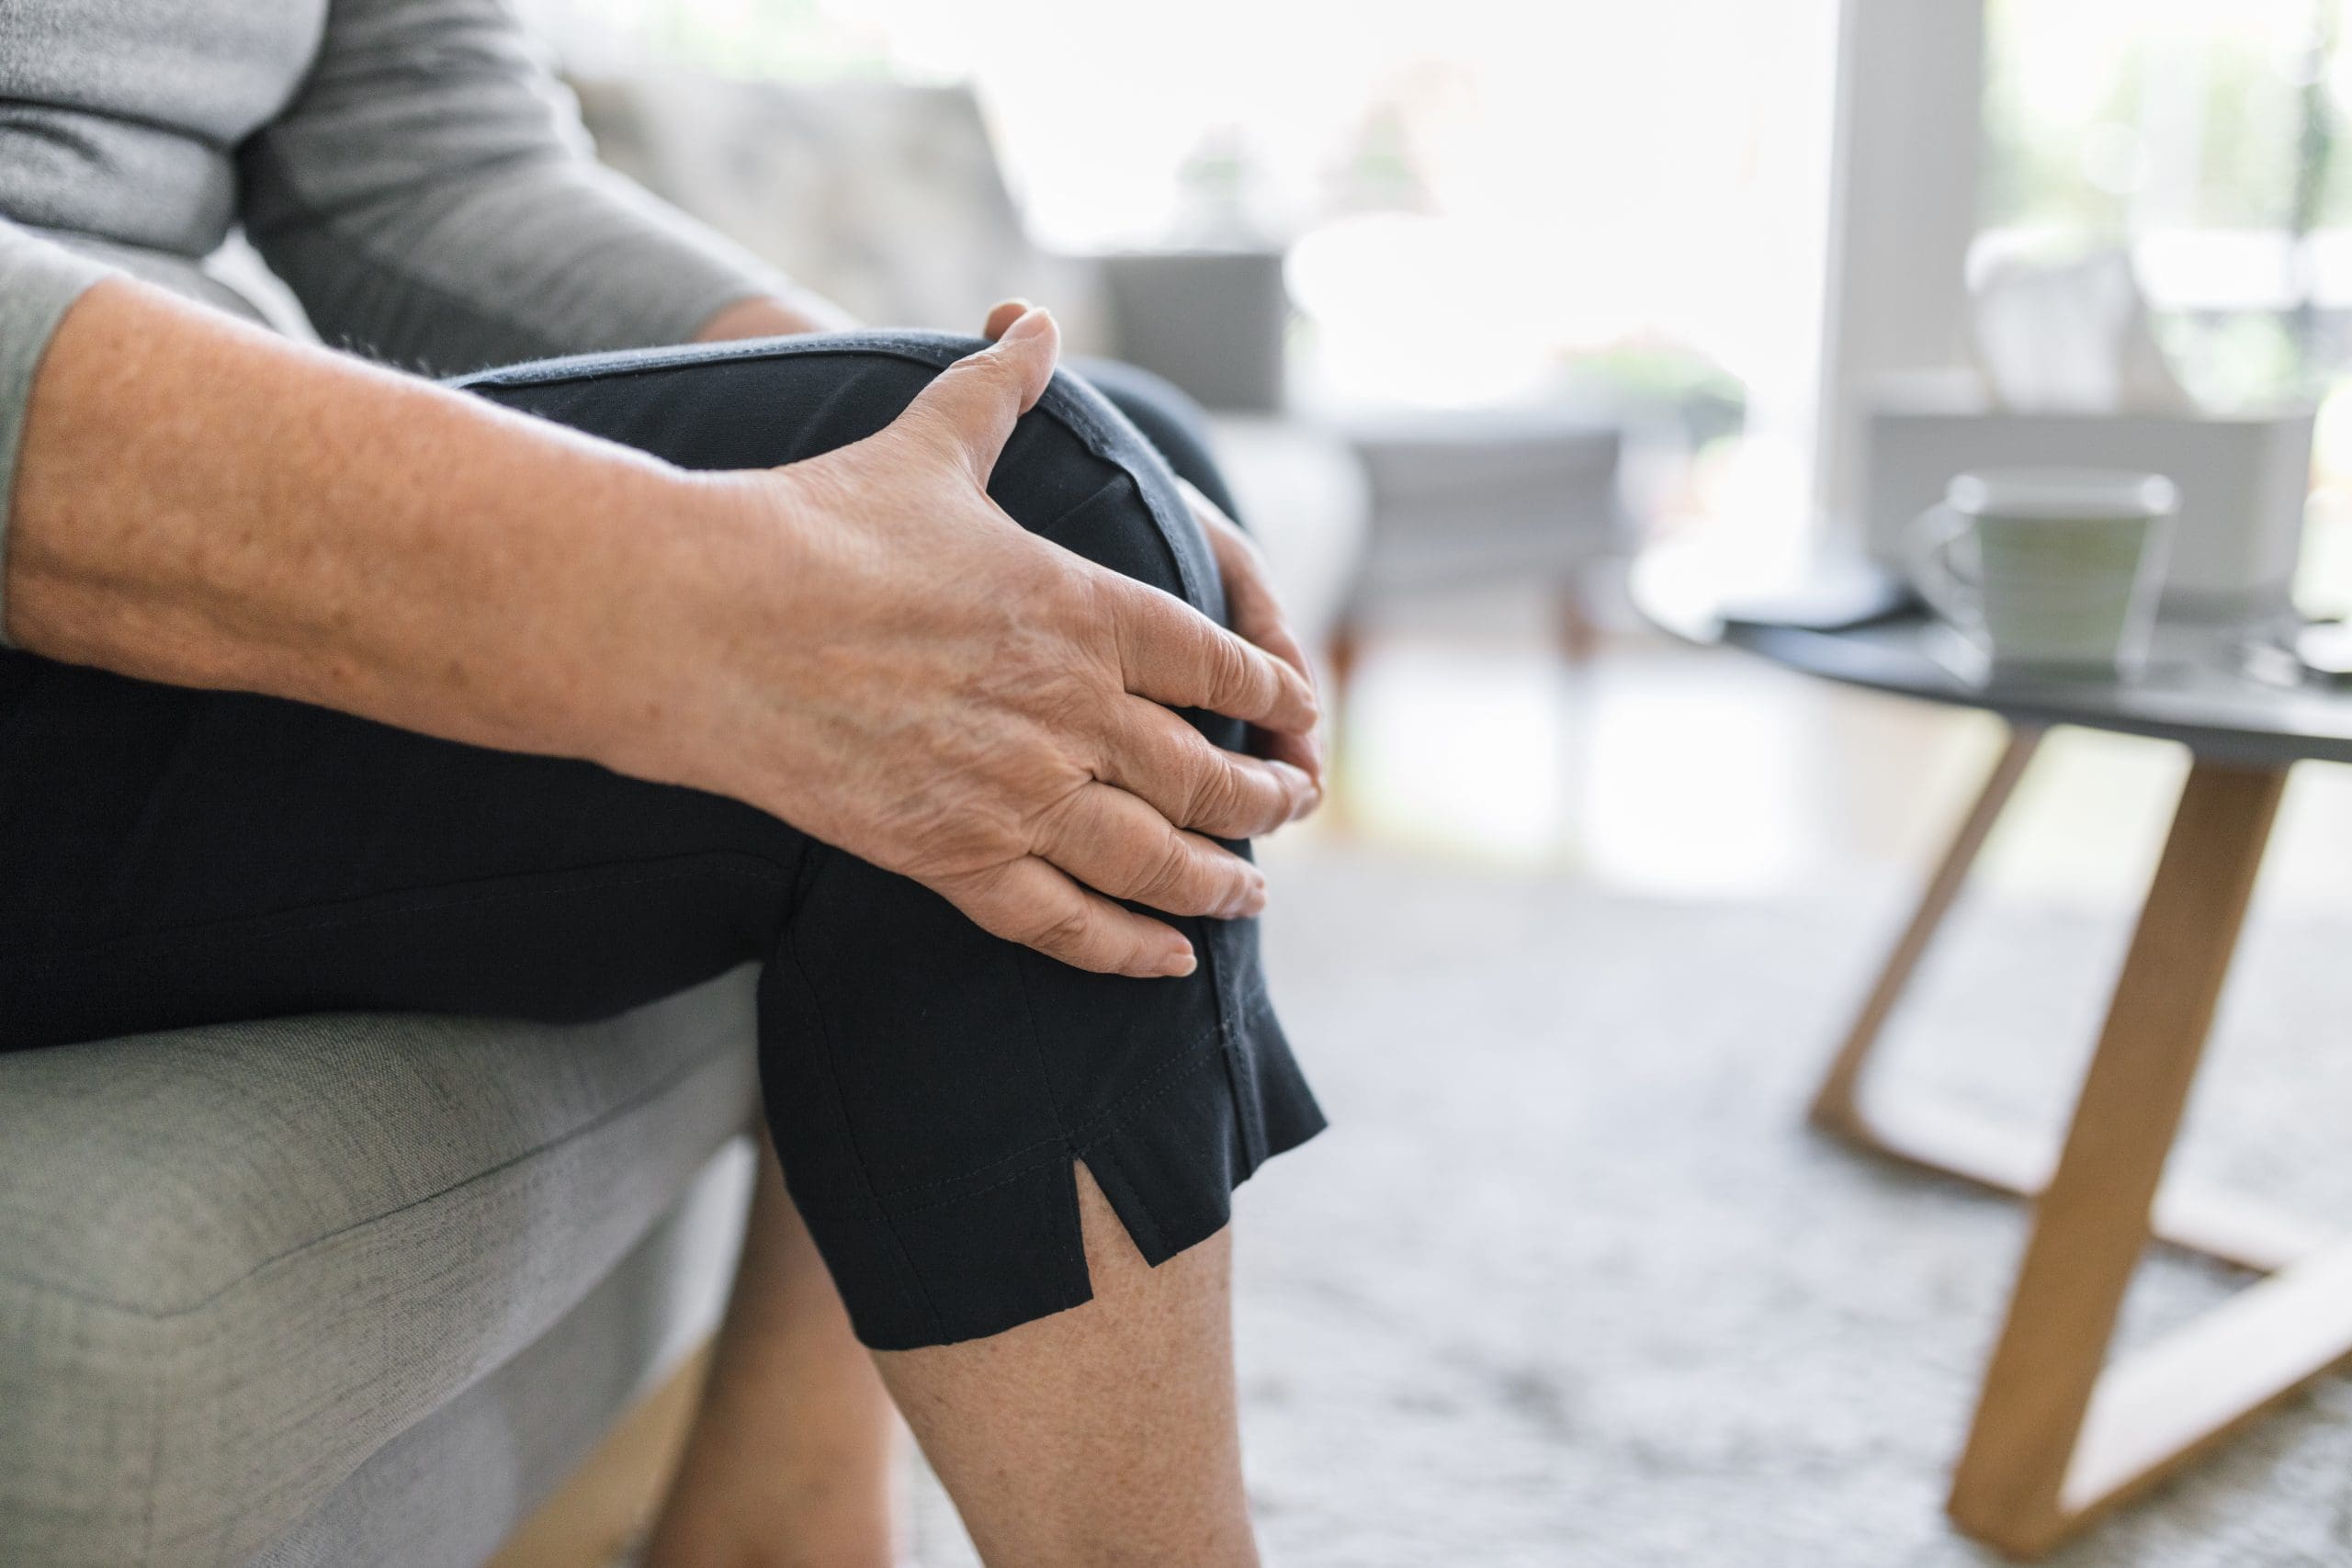
For male patients, the upper-lateral buttock provides ample adipose tissue but requires careful placement to remain lateral to the paraspinal mass and away from the midline. For female patients, I emphasize placement “inside the tan line” in the upper buttock or upper outer quadrant, which keeps pellets out of direct pressure from sitting. Patients should not feel pellets when seated; if they do, the placement is too superficial or too medial/inferior. Coccygeal proximity risks pain and migration along gluteal cleft skin folds; move laterally and maintain depth.
Section 10: Preventing Encapsulation, Palpability, and Extrusion
- Pathophysiology of superficial placement
- Tissue deposition dynamics
- Role of micro-dose anti-inflammatory additives
Encapsulation occurs when superficial placement triggers fibroblast activation and collagen deposition around a foreign body. The dermal-subdermal interface is collagen-rich and biomechanically active; any implant in this region tends to elicit a capsule. Deeper subcutaneous fat, with its looser extracellular matrix and less tensile loading, reduces that signal. If pellets are laid in the superficial fascia or subdermal plane, patients can palpate them; they may see tenting or develop pain with motion. Extrusion risk increases when incision tension, dressings, and skin recoil oppose the shallow implant.
Some proprietary pellet systems include a microdose of a corticosteroid to moderate acute periprosthetic inflammation and tissue deposition. Mechanistically, by dampening local cytokine and fibroblast activity in the short term, these systems may reduce early fibrosis and improve comfort. The effect is local and time-limited; it does not replace correct depth and spacing.
Section 11: Simulation with Clear Ballistic Gel: Translational Learning
- Why gel helps
- Recognizing tactile signals
- Limits of simulation
Clear ballistic gel mimics human soft-tissue resistance and allows visual feedback of pellet path and spacing. In gel, clinicians observe:
- How steady two-handed pressure lays pellets in a row
- How pushing too hard causes punctate “jumps” or tenting
- How bevel misalignment slices or clouds the track
This visual-tactile link accelerates skill acquisition. Caveat: real human tissue varies in density, elasticity, and perfusion. Edema, fibrous septae, and prior scarring alter the feel. Use gel to train your motor patterns and sensory expectations, then adapt in vivo with gentle adjustments.
Section 12: Sterility and Skin Prep: Chlorhexidine, Povidone-Iodine, Alcohol
- Comparative antisepsis
- Shortage contingencies
- Practical protocols
Chlorhexidine-alcohol combinations have robust evidence supporting superior skin decolonization compared with povidone-iodine alone in many procedural contexts. However, if there is a supply shortage, povidone-iodine or 70% isopropyl alcohol remains an acceptable alternative when used correctly. The key is consistent technique: wide, concentric prep; sufficient contact time; and avoidance of field contamination when switching instruments or re-gripping. For clean procedures with intact skin and minimal tissue disruption, sterile gloves and a clean field are typically adequate; escalate to a full sterile setup based on patient risk factors and clinic policy.
Section 13: Closure: Steri-Strips, Skin Adhesive, and Pressure Bandage
- Layered closure logic
- Preventing early shear
- Post-care instructions
I favor a layered approach:
- Approximate the skin edges with a fine adhesive strip (or medical-grade skin adhesive) to close the incision without tension.
- Apply a small, breathable pressure dressing to counter early edema and minimize shear across the entry site.
- Reinforce with a T-shaped tape construct if the anatomy or motion risk warrants it.
Post-care:
- Keep the pressure bandage for about one hour unless otherwise indicated, then maintain the steri-strips or adhesive barrier until they release naturally.
- For 3 days post-placement, avoid tub bathing, swimming, and high-shear activities that increase gluteal motion. Showers are typically permissible per clinic protocol after the first day if the site is protected.
- Counsel patients to avoid direct pressure (prolonged sitting on the site) and vigorous gluteal exercise for several days.
Section 14: Common Errors and How to Correct Them
- One-handed push vs. bimanual method
- Bevel misorientation and tissue rupture
- Superficial clustering near the incision
Error: Using a one-handed syringe-like push.
Consequence: Surge, pellet displacement, tenting, pain.
Correction: Lock the elbow against the rib cage, stabilize the hub with one hand, and slide pellets with the other, returning to lock between loads.
Error: Twisting with the obturator partially disengaged; bevel cutting across the fascia.
Consequence: Track rupture, bleeding, pain.
Correction: Fully lock for advancement; align the bevel to glide with minimal shear; use small wrist adjustments only.
Error: Depositing pellets near the incision or within the superficial fascia.
Consequence: Encapsulation, palpability, extrusion.
Correction: Plan a track with adequate length; place pellets deeper and distribute along the corridor; end well away from the entry site.
Section 15: Angle, Depth, and Wrist Mechanics
- Maintaining 45 degrees into the adipose patch
- Keeping the wrist flat
- Controlling micro-advances
A flat wrist, not a cocked one, yields a consistent 45-degree approach. Imagine aiming toward the “heart” of the adipose patch. Each pellet is seated with a small, controlled advance. If you feel the pelvis or skin “wiggle,” your pressure is too abrupt; slow down, stabilize, and reattempt with smaller increments. Remember, with female patients, pellets are smaller, so tactile confirmation is subtler; watch the tip and end-feel more closely.
Section 16: Field of Anesthesia and Track Matching
- Matching needle length to trocar length
- Avoiding out-of-field pain
- Physiologic reassurance
Use your anesthetic needle as a ruler to mark the intended depth and track length. This prevents overshoot when advancing the trocar. Patient comfort is a biomarker of proper field coverage; if they report sharpness at a certain point, pause, reinfiltrate along the track, and proceed. This protects against reflex gluteal tightening, which otherwise complicates insertion and increases post-procedural soreness.
Section 17: Load Planning: Dose, Sequence, and Track Capacity
- “Five, five, one” concept as a model
- Avoiding more than five in a single short segment
- Maintaining track integrity
As a rule of thumb, avoid packing more than five pellets into a short span before advancing or re-locking. Tracks typically accommodate an inch and a half to two inches of safe, even distribution per five small pellets (formulation dependent). Overpacking a short segment creates local pressure and heightens the risk of migration. When using combination therapy (e.g., testosterone with a small estrogen dose), place pellets with awareness of size and handling differences; smaller pellets require enhanced visual and tactile vigilance to avoid inadvertently “shooting” them forward.
Section 18: Patient Positioning and Tissue Support
- Cup-and-lift method
- Reducing shear and creating a corridor
- Practical coaching
I often “cup” the tissue beneath the trocar with my non-dominant hand. This support:
- Stabilizes the adipose and slightly elevates it
- Reduces deep shear
- Creates a firmer “bed” for even loading
This is especially helpful in lean patients or trained athletes with lower subcutaneous thickness; the cup-and-lift converts a marginal corridor into a workable lane.
Section 19: Supply Chain Contingencies and Kit Standardization
- Procure from multiple sources
- Pre-assembled kits
- Avoid workflow interruption
Sterility agents, spinal needles, and specialized trocars can be subject to intermittent shortages. Maintain secondary suppliers and consider clinic-specific pre-assembled kits with all disposables in matched quantities (e.g., sets of 25). This reduces procedural variability and ensures that anesthetic needle length, trocar length, and closure materials remain consistent across sessions.
Section 20: Clinical Observations from Practice and HealthVoice360
- What I’ve seen at the bedside
- The “feel” that predicts easy healing
- Patterns of success
Across thousands of patient encounters, a few patterns stand out:
- When the weal is generous, and the field is properly anesthetized to trocar length, patients rarely tense; the corridor stays compliant, pellets seat smoothly, and follow-up reveals minimal tenderness.
- When pellets are palpably superficial at the conclusion, patients often return, reporting awareness or soreness with sitting or twisting. On exam, these are typically within the fascial or subdermal plane; the solution is prevention—deeper, laterally-biased placement next time.
- Even spacing correlates with fewer site complaints and more predictable release timing. Clustering correlates with nodularity and delayed comfort.
- A calm, unhurried tempo in the room matters. The tissue “listens” to your hands; aggressive force or hurried movement produces more bruising and patient apprehension.
Section 21: Safety, Risk Mitigation, and Patient Counseling
- Hematoma prevention
- Infection precautions
- Realistic expectations
Hold gentle pressure after removing the trocar to reduce oozing. Use a pressure bandage initially and avoid NSAIDs that may worsen bruising unless clinically indicated. Counsel patients on normal post-procedural sensations (mild soreness, transient firmness) versus warning signs (increasing redness, warmth, drainage, fever). Provide clear contact instructions. Infection is rare with clean technique, but timely assessment and management are essential when suspected.
Section 22: Why Techniques Work: Mechanistic Links
- Biomechanics of adipose corridors
- Shear, tension, and fibrosis
- Pharmacokinetic stability
Every choice—angle, bevel orientation, depth, spacing—reduces tissue injury and clarifies the diffusion environment. Less injury means lower inflammatory signaling, lower fibroblast activation, and fewer capsules. Even spacing equals evenly distributed local concentration gradients, which flatten elution variability and smooth hormone kinetics.
Section 23: Troubleshooting During Placement
- If resistance increases suddenly
- If pain occurs beyond expectation
- If pellets start to back up
Unexpected resistance often equals fascia or septal crossing at the wrong angle; pause, reassess bevel orientation, slightly adjust wrist position, and re-advance slowly. Suppose the patient reports sharpness, heat, and expansion of anesthesia selectively along the suspected segment. If pellets migrate toward the incision, slightly lengthen the track and re-space with gentler pressure, keeping the hub anchored.
Section 24: Post-Procedure Follow-Up and Outcome Measures
- What to monitor
- Patient-reported outcomes
- Iterative improvement
I document:
- Site healing: bruising, tenderness, palpability
- Functional comfort: sitting, walking, sleeping
- Hormone response: symptom scales and serum levels as indicated
- Adverse events: extrusion, infection, nodularity
Iterate: If palpability occurs, adjust the depth and lateral bias in the next session. If bruising recurs, revisit bevel orientation and tempo. If the patient reports sitting discomfort, reconsider placement relative to pressure lines.
Section 25: Ethical and Patient-Centered Considerations
- Informed consent
- Shared decision-making
- Scope of practice
Explain procedural steps, benefits, alternatives, and risks, including rare complications. Encourage questions. Ensure that your scope of practice and licensure cover the procedure; collaborate across disciplines when helpful. Patient comfort and trust increase adherence and satisfaction, ultimately improving outcomes.
Section 26: Extended Practical Tips
- Marking depth on the anesthetic needle as a visual landmark
- Protecting the field while re-gripping
- Avoiding “over-cleaning” post-closure
Use a sterile marker to mark the intended depth on the anesthetic needle; it serves as a ruler for trocar advancement. When you must re-grip the trocar, keep one hand sterile and maintain field awareness. After skin adhesive or steri-strips are applied, avoid saturating the site with cleansers; overly aggressive wiping compromises adhesion.
Section 27: Special Populations
- Very lean patients
- High-BMI patients
- Athletes
For very lean patients, the cup-and-lift is essential, and a lower pellet count per segment reduces pressure. For high-BMI patients, depth is easier to achieve, but the incision should still be small, with careful track creation to avoid meandering. In athletes with strong gluteal activation, avoid zones of maximal contraction shear and counsel on activity modifications during the first 72 hours.
Section 28: Pain Science and Patient Experience
- Expectation management
- Autonomic tone in the room
- The role of tempo
Explain sensations patients might feel: a pressure-like advance, a brief “pop” crossing fascia, and steady dull pressure with pellet loading. Slow breathing and a calm cadence reduce sympathetic arousal, thereby decreasing perceived pain and muscle tone. A predictable tempo creates a smoother corridor and easier loading.
Section 29: Integration with Broader Hormone Management
- Why placement affects kinetics and adherence
- Coordinating with dosing protocols
- Monitoring intervals
Precise placement supports predictable elution, which complements dosing strategies. Poor placement adds noise to serum curves and symptom trajectories, complicating titration. Align placement best practices with your standard follow-up intervals, lab timing, and patient education on symptom logging.
Section 30: Practical Checklist
- Pre-procedure: consent, landmarks, prep solution availability, instrument check, anesthetic plan
- Procedure: weal creation, anesthetic track infiltration, 45-degree entry, trocar lock discipline, two-handed control, pellet spacing away from incision
- Post-procedure: layered closure, pressure bandage, instructions, red-flag education, follow-up appointment
Keywords to emphasize in your notes and training:
- Two-handed technique
- Bevel orientation
- Subcutaneous adipose corridor
- 45-degree trajectory
- Track length equals trocar length
- Pellet spacing and distribution
- Weal-first anesthesia
- Pressure bandage and layered closure
- Avoid sitting in pressure lines
- Prevent encapsulation and extrusion
Summary, Conclusion, and Key Insights
Summary
Now, practitioners have continued to refine subcutaneous hormone pellet implantation with a focus on physiology-guided techniques. The core advancements highlighted here include using a two-handed, elbow-locked control method; aligning the trocar trajectory at roughly 45 degrees toward the center of a well-chosen adipose patch; and relying on a generous weal-first anesthetic strategy that extends the full trocar length. Correct bevel orientation and careful “swimming” through tissue protect the corridor. Pellets should be distributed evenly along a sufficiently long track, ending well away from the incision to minimize extrusion. In male and female patients alike, avoid sitting in pressure zones; for women, the upper outer buttock, inside the tan line, often offers optimal depth without chair contact. A layered closure and brief pressure bandage reduce shear and oozing, while post-care limits on bathing and high-shear activity support early healing. When chlorhexidine is unavailable, povidone-iodine or alcohol may be used with methodical technique. Clear ballistic gel training builds tactile intuition, but clinicians must adapt to the variability of human tissue.
Conclusion
Technique is pharmacology’s silent partner. Pellet chemistry and dosing are only as effective as the tissue environment created by the clinician’s hands. Depth, spacing, and controlled entry are not merely craftsmanship—they are determinants of inflammation, fibrosis, diffusion gradients, and thus clinical kinetics. By adopting a physiology-first approach—anchoring each micro-decision to adipose mechanics, fascial behavior, and nociception—clinicians can reduce complications like encapsulation, palpability, and extrusion. The structured, bimanual method with disciplined locking and bevel alignment produces a reliable, low-trauma track. With consistent landmarks tailored to sex-specific anatomy and sitting mechanics, outcomes become both safer and more predictable. In my practice and as reflected in leading procedural research, these habits transform variability into mastery, preserving patient comfort and trust.
Key Insights
- Depth defines destiny: Subcutaneous fat—not dermis or fascia—is the ideal reservoir for predictable elution and low fibrosis.
- Two hands, one rhythm: Stabilize with a locked elbow and load with the other hand to avoid surge and displacement.
- Anesthesia sets the tone: A broad weal and full-length track infiltration reduces pain, muscle guarding, and track trauma.
- Bevel and wrist matter: Proper orientation and a flat, 45-degree wrist trajectory minimize shear and hematoma.
- Space, don’t stack: Even distribution of pellets away from the incision reduces extrusion and nodularity.
- Sit-safety zones: Place pellets where patients do not sit—upper outer buttock for women; lateral-deep corridors for men.
- Close in layers, protect early: Steri-Strips or adhesive, plus a brief pressure dressing, minimize shear and oozing.
- Prepare for shortages: Chlorhexidine preferred; povidone-iodine or alcohol acceptable with sound technique.
- Train with gel, think in tissue: Ballistic gel builds skills; clinical tissue variability requires a gentle, adaptive technique.
References
- Current interventional best-practice texts and procedural dermatology literature on antisepsis and wound closure.
- Comparative studies on chlorhexidine-alcohol versus povidone-iodine for skin antisepsis in minor procedures.
- Clinical observations and case-based insights adapted from HealthVoice360 content by Dr. Alexander Jimenez, DC, APRN, FNP-BC.
Keywords
Subcutaneous hormone pellets, trocar technique, bevel orientation, adipose corridor, encapsulation prevention, extrusion reduction, anesthesia weal, chlorhexidine, povidone-iodine, ballistic gel simulation, upper gluteal placement, female upper buttock, two-handed control, pellet spacing, wound closure, pressure bandage.
Disclaimer
This educational post is not medical advice. It is intended for licensed professionals as a procedural and conceptual guide. All individuals must obtain personalized recommendations from their own qualified medical providers. Clinical decisions should reflect the practitioner’s scope of practice, patient-specific factors, and current standards of care.
General Disclaimer
Professional Scope of Practice *
The information herein on "Pellet Therapy for Subcutaneous Hormonal Balance" is not intended to replace a one-on-one relationship with a qualified health care professional or licensed physician and is not medical advice. We encourage you to make healthcare decisions based on your research and partnership with a qualified healthcare professional.
Blog Information & Scope Discussions
Welcome to El Paso's Premier Wellness and Injury Care Clinic & Wellness Blog, where Dr. Alex Jimenez, DC, FNP-C, a Multi-State board-certified Family Practice Nurse Practitioner (FNP-BC) and Chiropractor (DC), presents insights on how our multidisciplinary team is dedicated to holistic healing and personalized care. Our practice aligns with evidence-based treatment protocols inspired by integrative medicine principles, similar to those found on this site and our family practice-based chiromed.com site, focusing on restoring health naturally for patients of all ages.
Our areas of multidisciplinary practice include Wellness & Nutrition, Chronic Pain, Personal Injury, Auto Accident Care, Work Injuries, Back Injury, Low Back Pain, Neck Pain, Migraine Headaches, Sports Injuries, Severe Sciatica, Scoliosis, Complex Herniated Discs, Fibromyalgia, Chronic Pain, Complex Injuries, Stress Management, Functional Medicine Treatments, and in-scope care protocols.
Our information scope is multidisciplinary, focusing on musculoskeletal and physical medicine, wellness, contributing etiological viscerosomatic disturbances within clinical presentations, associated somato-visceral reflex clinical dynamics, subluxation complexes, sensitive health issues, and functional medicine articles, topics, and discussions.
We provide and present clinical collaboration with specialists from various disciplines. Each specialist is governed by their professional scope of practice and their jurisdiction of licensure. We use functional health & wellness protocols to treat and support care for musculoskeletal injuries or disorders.
Our videos, posts, topics, and insights address clinical matters and issues that are directly or indirectly related to our clinical scope of practice.
Our office has made a reasonable effort to provide supportive citations and has identified relevant research studies that support our posts. We provide copies of supporting research studies upon request to regulatory boards and the public.
We understand that we cover matters that require an additional explanation of how they may assist in a particular care plan or treatment protocol; therefore, to discuss the subject matter above further, please feel free to ask Dr. Alex Jimenez, DC, APRN, FNP-BC, or contact us at 915-850-0900.
We are here to help you and your family.
Blessings
Dr. Alex Jimenez DC, MSACP, APRN, FNP-BC*, CCST, IFMCP, CFMP, ATN
email: coach@elpasofunctionalmedicine.com
Multidisciplinary Licensing & Board Certifications:
Licensed as a Doctor of Chiropractic (DC) in Texas & New Mexico*
Texas DC License #: TX5807, Verified: TX5807
New Mexico DC License #: NM-DC2182, Verified: NM-DC2182
Multi-State Advanced Practice Registered Nurse (APRN*) in Texas & Multistate
Multistate Compact RN License by Endorsement (42 States)
Texas APRN License #: 1191402, Verified: 1191402 *
Florida APRN License #: 11043890, Verified: APRN11043890 *
* Prescriptive Authority Authorized
ANCC FNP-BC: Board Certified Nurse Practitioner*
Compact Status: Multi-State License: Authorized to Practice in 40 States*
Graduate with Honors: ICHS: MSN-FNP (Family Nurse Practitioner Program)
Degree Granted. Master's in Family Practice MSN Diploma (Cum Laude)
Dr. Alex Jimenez, DC, APRN, FNP-BC*, CFMP, IFMCP, ATN, CCST
My Digital Business Card
RN: Registered Nurse
APRNP: Advanced Practice Registered Nurse
FNP: Family Practice Specialization
DC: Doctor of Chiropractic
CFMP: Certified Functional Medicine Provider
MSN-FNP: Master of Science in Family Practice Medicine
MSACP: Master of Science in Advanced Clinical Practice
IFMCP: Institute of Functional Medicine
CCST: Certified Chiropractic Spinal Trauma
ATN: Advanced Translational Neutrogenomics